Monday, May 25, 2020

Telsa Model S rear control arm

To create an adjustable upper control for the tesla model S, you'll need some parts:

8ea of these 5/8 to 12mm high misalignment spacers
https://www.barnes4wd.com/58-to-12MM-High-Misalignment-Spacer-Zinc-Plated-Steel-1-12-Inch-Mounting-Width-_p_1063.html


And a list from http://www.colemanracing.com/
2ea right hand 5/8 heim
931-RF (Aurora CM-10
2ea right hand 5/8 heim
931-LF (Aurora CB-10)

2ea Right hand 5/8 jam nuts
941-R
2ea Left hand 5/8 jam nuts
941-L

2ea threaded 5/8 rod with left and right threads
RP-129-85

Sunday, April 19, 2020

Arduino code for Spark EV PWM controller

///////////////////////////////////////////////////////////////////////
// PWM motor controller Part 7
// Built for Spark EV DC controller
// Arduino Adafruit Trinket Pro 5V
//
// Changing PWM output frequency to 8kHz
//
// Analog designation:
// A0 throttle input
// 10 motor PWM output (digital output)
// A3 current 1 sense input
//
//
// Designed for Adafruit Trinket Pro 5V on the generic test board
// By Travis Shorten
// 4/19/20
// Rev -
//
//
///////////////////////////////////////////////////////////////////////


//constants
const int motor_delay = 10; // System clock for updating output
const int numReadings = 4; // this is the number of reading for smoothing
const int motorout = 10; // output pin for motor pwm
const int throttle_in = A0; // input pin for throttle
const int motoramp_in = A3; // motor amperage input
const int motorampmax = 98; // motor amperage is 3x per phase! 100A phase current is 300A total
// cont. 2.5V=0A=128, 2.85mV/A 100A*0.00285V/A=0.285V
// cont. 2.5V-0.285V=2.215V at the sensor output. 2.215V*128/2.5V=113 at the A/D
// bit = (128-0.146*Amperage)
// Amp = (128-bit)/0.146)
// 98 = 600A total
// 113 = 300A total
// 123 = 100A total
const int motorup = 2; // motor throttle up increment
const int motordown = 2; // motor throttle down increment
const int motorlimit; // motor throttle down increment with current limit

//variables and initial values
unsigned int mthr = 0; // throttle value to write to pwm, pos only
unsigned int mthr_inv = 255; // throttle value to write to pwm, pos only
int pedal_read = 10; // pedal_read
unsigned int pedal_ave = 0; // pedal average is set to 0. This sets PWM duty. Pos only
int motor_torque = 128; // motor output torque is set to 0

// average table listings
int readings[numReadings]; // the readings from the analog input
int readIndex = 0; // the index of the current reading
int total = 0; // the running total


void setup(){
TCCR0B = TCCR0B & B11111000 | 0x02;
TCCR1B = TCCR1B & B11111000 | 0x02;
TCCR2B = TCCR2B & B11111000 | 0x02; // 0x01 1 31372.55 changes PWM output frequency for pin 9/10
// 0x02 8 3921.16
// 0x03 64 490.20 <--DEFAULT // 0x04 256 122.55 // 0x05 1024 30.64 pedal_read = analogRead(throttle_in) / 4; while (pedal_read >= 20){
pedal_read = analogRead(throttle_in) / 4;
delay(100);
}
}

void loop(){

//***************************************************
// master throttle reset for over current. Reduces throttle
// with while as long as over current is sensed
//***************************************************


//the 0A current voltage is 2.5V. Going down increases amperage to the motor

//uses stock PWM control. mthr goes to pwm

motor_torque = analogRead(motoramp_in) / 4;
while (motor_torque < motorampmax) { mthr = mthr - motordown; mthr_inv = 255 - mthr; analogWrite(motorout, mthr_inv); motor_torque = analogRead(motoramp_in) / 4; } //***************************************************

// average matrix

//***************************************************


total = total - readings[readIndex];
readings[readIndex] = analogRead(throttle_in) / 4;
total = total + readings[readIndex];
readIndex = readIndex + 1;
if (readIndex >= numReadings) {
readIndex = 0;
}
pedal_ave = total / numReadings;

//***************************************************
// if pedal ave is greater than master throttle
//***************************************************

if (pedal_ave > mthr){
mthr = mthr + motorup;
}

//***************************************************
// if pedal ave is less than master throttle
//***************************************************

if (pedal_ave < mthr){ //if the pedal is lower, reduce motor output mthr = mthr - motordown; } //*************************************************** // if pedal ave is less than min allowed //*************************************************** if (mthr <= 3){ //if the pedal is higher, increase motor output mthr = 3; } //*************************************************** // if pedal ave is greater than greater than max allowed //*************************************************** if (mthr > 252){
mthr = 252;
}

mthr_inv = 255 - mthr; // high voltage control board is active low. 0% duty is wide open
analogWrite(motorout, mthr_inv); //uses stock PWM control. mthr goes to pwm

delay(motor_delay); //adds a little delay to motor speed adjustments to prevent jarring drivetrain

}

Thursday, December 5, 2019

Tesla Knowledge

Stand alone Tesla drive unit controller

www.ev-controls.com

EV-TV seems to have removed them from their site. They used to offer full plug and play kits.

Regarding the Telsa Model S MCU. The Tesla MCU needs to be programmed to match your car. DIY replacement is not possible without this reflash. Due to this, the unit needs to be sent out for repair should you need the eMMC replaced to due an unresponsive MCU (black screen). There are a couple of people that will do this repair and/or rooting of the MCU. Rooting the MCU will cause a disconnection from the Tesla system network and no further updates will be available.

TMC users @wk057 (jason hughes) and @Ingineer seem to have the process to do this.

Jason Hughes website

https://057tech.com/services/tesla_mcu

Aftermarket air ride suspension replacement struts

https://suncoreindustries.com/product/21209/front-rear-suspension-oem-remanufactured-air-struts-2012-2015-tesla-model-s

Monday, November 11, 2019

Nissan Leaf Knowledge

For those interested in getting a gen1 or gen2 nissan leaf motor/inverter hacked into your vehicle of choice, there are a few things to know.

The motor controller can be used with this CAN based controller from Thunderstruck EV.

https://www.thunderstruck-ev.com/dilithium-vcu.html

This CAN based controller from Damien Maguire

https://github.com/damienmaguire/Nissan-Leaf-Inverter-Controller

And there is one controller by Johannes Hübner that I can't find. The Paul and Sabrina leaf module replaces the logic board in the inverter with their own design. The features look imoressive!

https://www.pandspowerelectronics.com/product-page/nissan-leaf-2013-2017-replacement-control-board


Looking into the max power out from the inverter, it is set by the power side. 72S is needed for full output power, still unsure of max voltage. Inverter uses 1A at 12V to operate, not terrible.

http://productions.8dromeda.net/c55-leaf-inverter-protocol.html

The DC/DC converter located on top of the motor controller or part of the PDM (Power Distribution Module) can be reused. According to the below, 10V PWM signal running at about 9 HZ on pin 1 and pin 3 goes to +12V to enable. Changing the frequency changes the voltage out, no clue on the relationship there (just don't do 470VDC).

https://insideevs.com/news/324591/nissan-leaf-dc-dc-converter-decoded-video/

https://www.youtube.com/watch?v=NJq6gt5YG_E

Leaf motor curve https://www.researchgate.net/figure/The-characteristic-curve-of-electric-motor-parameters-for-a-Nissan-Leaf-vehicle-20_fig1_311439823/amp


https://www.pecj.co.jp/en/fuse/ev/ev.html
This is the fuse that came with the Nissan Leaf battery disconnect. It is the 225A one. Looking at the current vs time chart, it looks like it can handle 450A without ever blowing, at 500A it takes 30 seconds, and at 650A it would take 8 seconds.


Shaft spline adapter matches Suzuki Samurai https://youtu.be/232q0KxjMWw

Monday, November 4, 2019

e30

I've had the pleasure of owning a 1984 325e for nearly 9 years. I've had several random ideas to improve the car.

Breakout Box I added a DIY breakout box to the factory ECU as there is no troubleshooting or diagnostic ports to speak of. This allows me to probe with a multimeter to observe the voltages running into and out of the ECU, letting me easily troubleshoot any faulty sensors or outputs.

Under Dash Lights I've added a 5V regulator and USB LEDs to the underside of the dash and seats to add nice ambient lighting when the door is open. As the overhead lights are blocked by my head, this offers some much needed light. Plus it looks really nice!

Digital PWM fan controller My cabin fan resistor popped recently. Instead of replacing the unit, this device allows individual speed settings to replace the factory default ones. This also uses PWM to efficiently change the fan speed to what the user wants.

Friday, August 30, 2019

Chevy Spark DC Inverter build

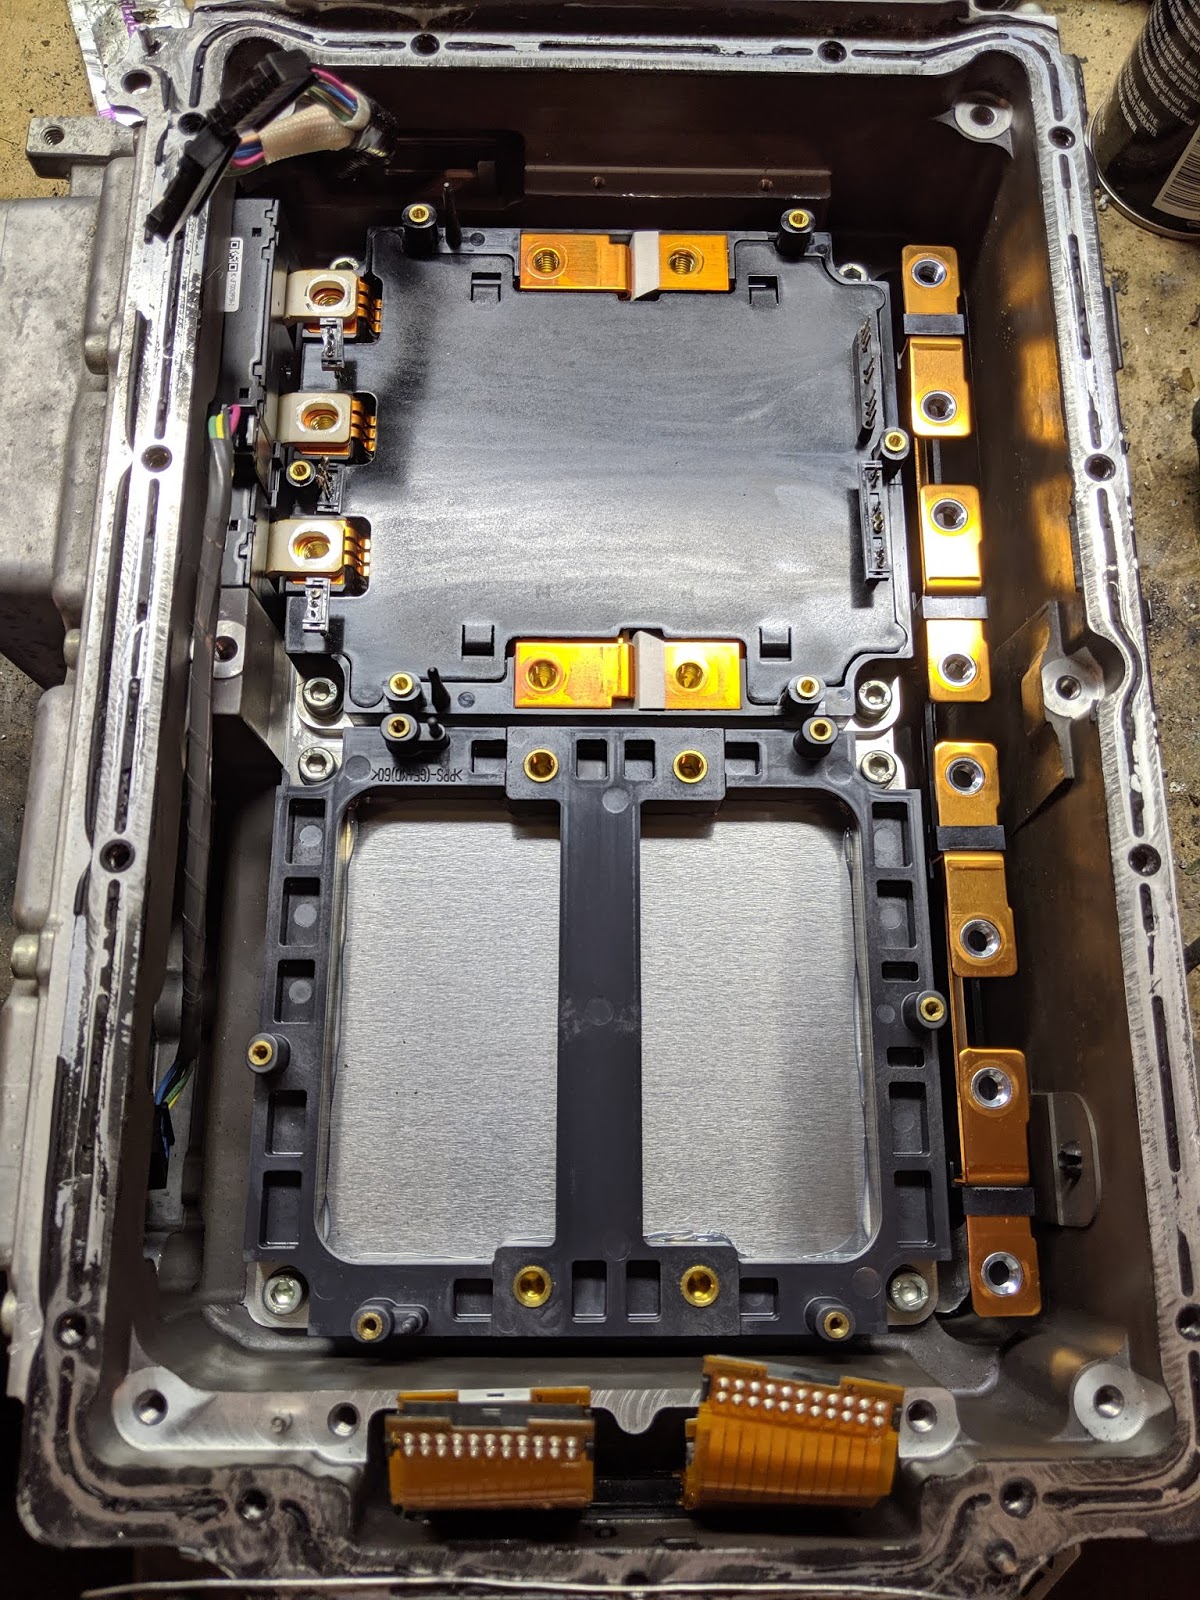
Chevy Sparks contain a modified (half unpopulated) inverter from the Chevy Volt. The High Voltage control board sits underneath the main logic board.

Per reverse engineering done by TomDB on the DIY Electric Car forums, the High Voltage control board accepts logic level low commands to turn on the IGBT. Per his note, the Optocoupler inputs are high when not active. Also, per the PDF in post 16, the logic level is active LOW, so this must be accounted for in the PWM driver circuit.

https://www.diyelectriccar.com/forums/showpost.php?p=926842&postcount=16

pin color function of the High Voltage control board connector.

1 green Temp B

2 black ground

3 -

4 white

5 -

6 red power +5V

7 yellow Top gate A

8 green Top gate B

9 blue Top gate C

10 yellow Temp A

11 blue Temp C

12 -

13 -

14 -

15 -

16 yellow bottom gate A

17 green bottom gate B

18 blue bottom gate C

My intent is to use the very basic Damien McGuire 8kHz PWM generator to power this High Voltage board. Bare boards can be purchased here:

http://evbmw.com/index.php/evbmw-webshop/miscellaneous-bare-pcbs/dc-log-v1

And the source files can be located here:

https://github.com/damienmaguire/DC-Motor-Controller


Saturday, August 24, 2019

Obligatory First Post

Alright, first post. This blog will be a collection of electric vehicle conversion topics, resources, products, and links. Mainly dedicated to any newcomers to the DIY EV world. All links will be tagged so help aid in finding specific information on a topic, such as: BMS, Tesla, Leaf, etc.